
If you are here you have surely opted for a greener lifestyle, either that or you are looking for a new DIY project to keep your hands busy.
As someone who is interested in sustainable solutions (which is where the idea for HankyBook came from), I am obsessed with eco-friendly products and projects. Right now I’m looking into the possibility of selling dryer balls, but I wanted to see for myself:
How hard is it to make a DIY dryer ball?
Turns out: a bit harder than I thought it would be. It took some trial and error but having gone through the steps myself, this video and article guide to DIY wool dryer balls will hopefully make your experience significantly easier ?
But first:
What are Dryer Balls?
Dryer balls are fluffy-looking balls made of wool or spikey plastic (for those allergic to wool) that get into all the clumped up laundry to ensure that warm air can flow through items to reduce static and drying time. Basically, dryer balls help our clothes become soft and fluffy – without lint!
The ultimate adulting goal.
Did I mention they are also an excellent chemical softener replacement?
If you want to learn more, I already wrote a Beginner’s Guide to Dryer Balls so check that out as well.
How to Make Dryer Balls
To understand the process myself, and to be able to offer you tips, I decided to make them myself to give you all the tricks on the go. (I call them tricks, but it is more like mistakes I made that you could avoid…)
Here is a short video that I made to show you the key steps. Give that a watch and then read on for more detail because the video makes it seem a bit easier than the actual experience.
Not being much of a knitter, I had absolutely no idea how much fluff I would need or how much fluff would be enough fluff to prevent fluff? You know what I mean?
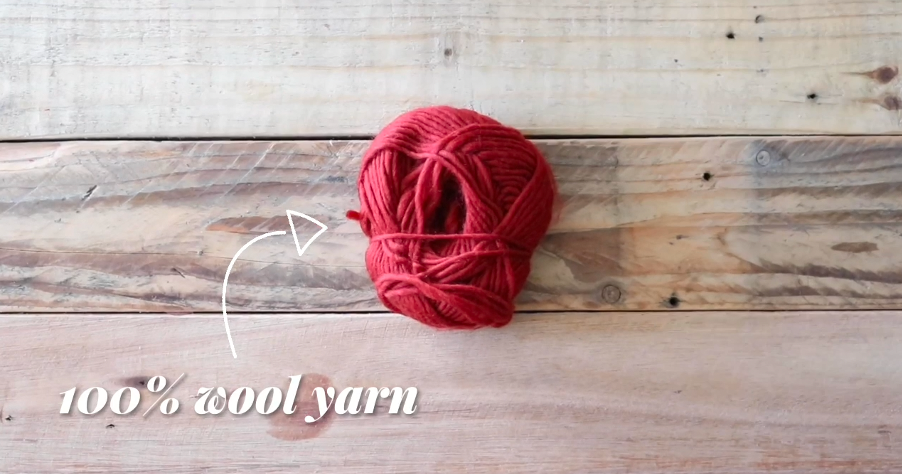
Looking back, the easiest way to tackle these balls would be to get your hands on one ball of 100% wool felt. (If it looks like cotton candy, you found the gem.)
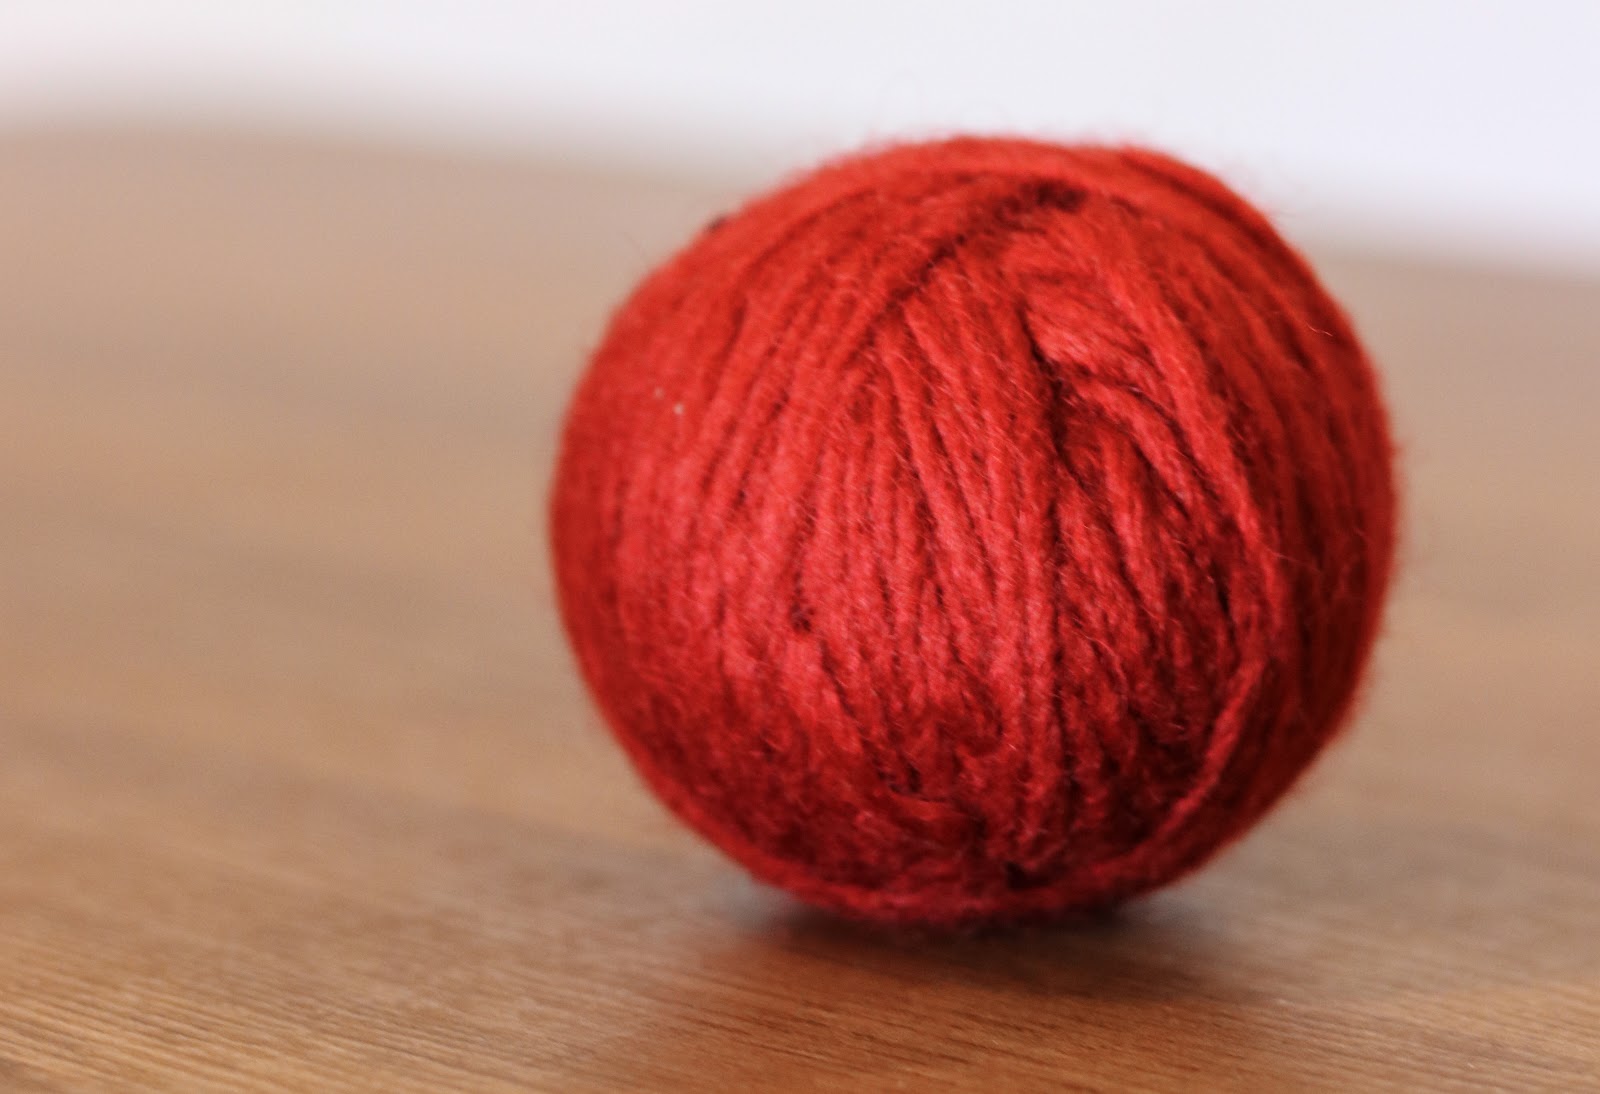
Unfortunately, I could not get my hands on this glorious fluff, so after some trial and error (again) I found that unravelling 100% wool yarn works perfectly for that fluffy ball look. If you don’t mind the strings, then the easy (peaceful) way out would be to use the yarn as it.
So before I get into any more detail, let me give you a rundown of what you will need:
Dryer Ball Item Checklist
You will need:
· 1 ball of 100% wool felt or yarn (unravel it, if you prefer the smooth felt look)
· 1 pair of stockings, feet cut off
· Some bits of leftover material such as knit or cotton
· Essential oils of your choice (optional), we used lemon for a fresh burst!
Overall the process is straightforward, it took me a few tries because some guides fail to mention small details, hopefully with some of my tips you can get perfect fluffy balls first time!
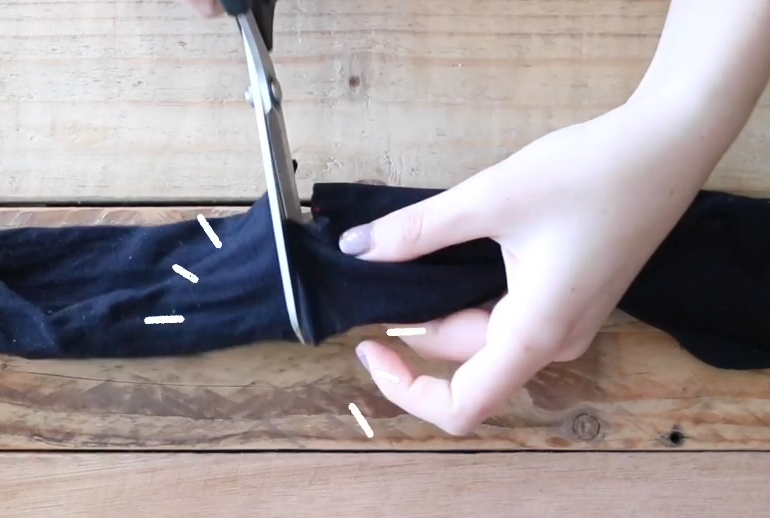
Step One
To start it off, you will need to cut off the foot of your stocking to a nice, long sock. Obviously the more balls you want to make, the more length you will need.
Step Two
Next up you want to grab your leftover material bits and twist it into a nice, tight little ball. Stick a needle in it to keep it in place. Obviously you would like to get this as tight and round as possible as this will be the core of your fluffy mission.
Step Three
Next up, as obvious as it is, start wrapping the wool around the ball of fabric. I started off going “Criss Cross” around the ball to hold the fabric in place, after that I went around with more “effort” to fill it up to a nice round ball shape.
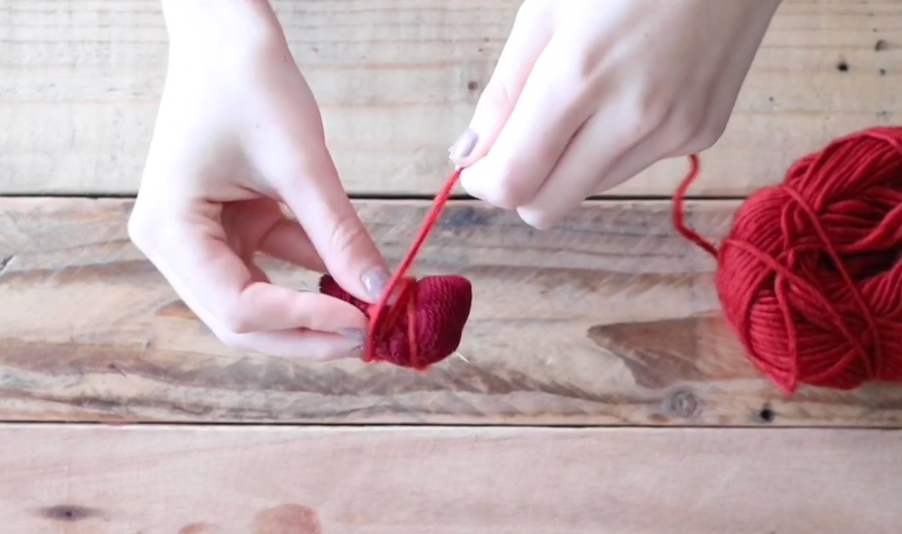
Remember to keep it tight at all times, you don’t want it to unravel. Most times they tell you to use the unravelled felted wool, it is amazing and traditional (I guess), but I do feel that your entry-level ball can be made using spun wool yarn. It is much easier to get a good grip and tighten the ends.
Step Four
Once you are happy with your size, you can cut the end and tuck it under one of the layers. I made sure mine were about the size of tennis balls so that if it doesn’t work; the dog has something to play with.
Just kidding, but if it happens, remember that dryer ball wool is baby and pet friendly.
Step Five
Stuff your fluffy DIY dryer balls it the stocking, twist it tightly and tie a knot on the end to keep it snug. You can now repeat the process and make a string of balls if you would like. The more the merrier!
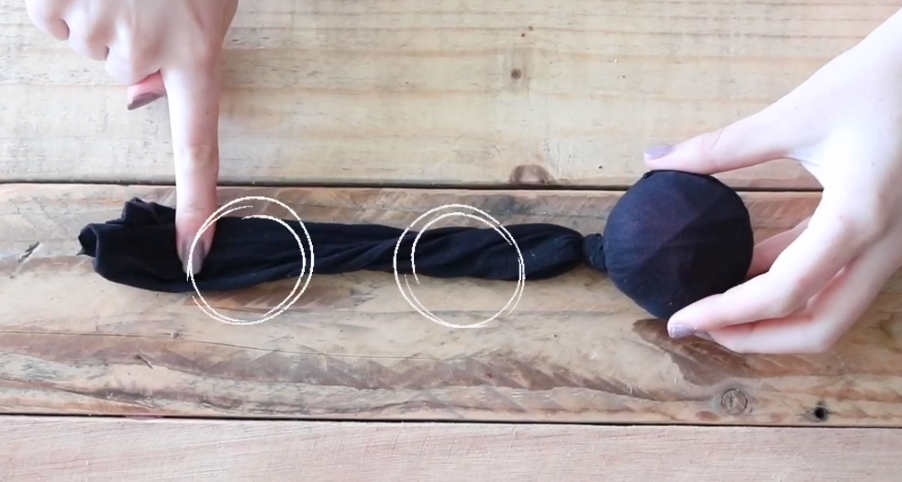
One of the key tips I can give you is keeping your dryer balls tight, as repetitive as it may sound. Everything from the material all the way to the stocking knot. My first two unravelled quite quickly, but my third one was about as uptight as the lady who sold me the wool and it has a perfect shape!
Step Six
Now you can pop your wool dryer balls into the washing machine, I didn’t want to waste a cycle, so I just popped it in with some towels.
Step Seven
You can now carry on with your day because once the laundry wash is over, those wool dryer balls need to dry all the way to the core when they come out. Sure, you could pop them in a tumble dryer, but I found that doing so did not dry the centre.
How do I know the centre was not dry? Let me tell you a fun story, if it does not dry all the way, it smells and unravels!
So definitely err on the side of caution during the drying process. A good dryer ball is a dry dryer ball.
And there you have it! (almost)
Dryer Ball Success (at last)
My third and final dryer ball was tight, snug and hung to dry for a full 24 hours. When I cut it open, it was firm and glorious! We succeeded, ladies and gentlemen!
After admiring my fluffy balls for a minute or two, I added one finishing touch. I added a few drops of essential oils to give my laundry a nice fresh burst.
So there you have it, toss them in the dryer and let the magic begin. They won’t ever need to be washed and they should be good for 2-3 years. My clothes came out soft and fresh and I didn’t need to use any fabric softener.
Now that you know how to make wool dryer balls, give it a shot and let me know how you fare.